Let's have a look at some of the accessories that come with the deadzone terrain. First up a couple snaps of my first piece of terrain with some additional details. I added a ladder to the rear and a couple railings to the sides. The railings were sprayed with the same yellow as the detailing on the tiles, and I built a cheap stencil with popsicle sticks to do a quick and dirty job of hazard stripes. They look quite decent IMO and I just used a medium grey to do a quick line highlight. If the highlight got too think I just wiped most of it off.
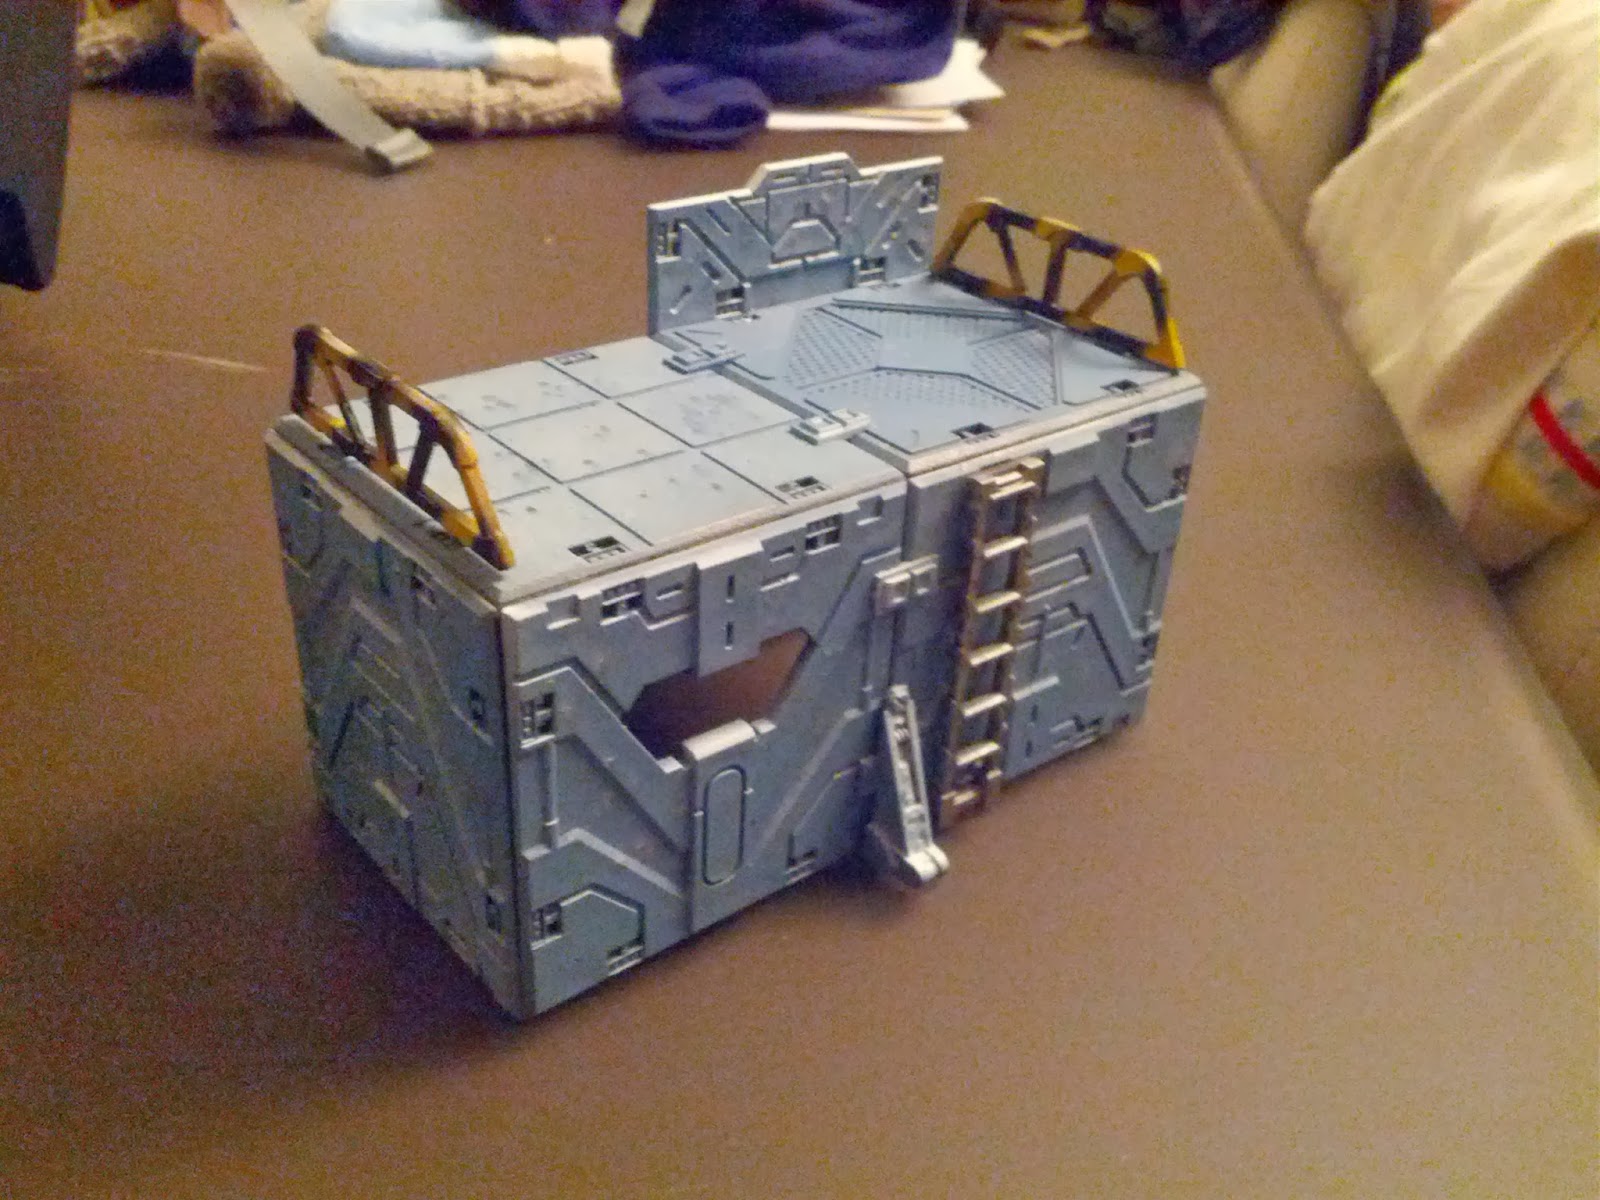 |
| rear photo from the right |
You can also see the ladder which I was originally debating doing in some brighter colour to make it stand out in game - but in the end I decided that for something like that why would anyone put that effort into it, so solid metal it is. I gave it a quick wash with badab black to pick out the rivets. I also did quite a bit of filing/scraping to get the mold lines off, I felt they would really detract from the look.
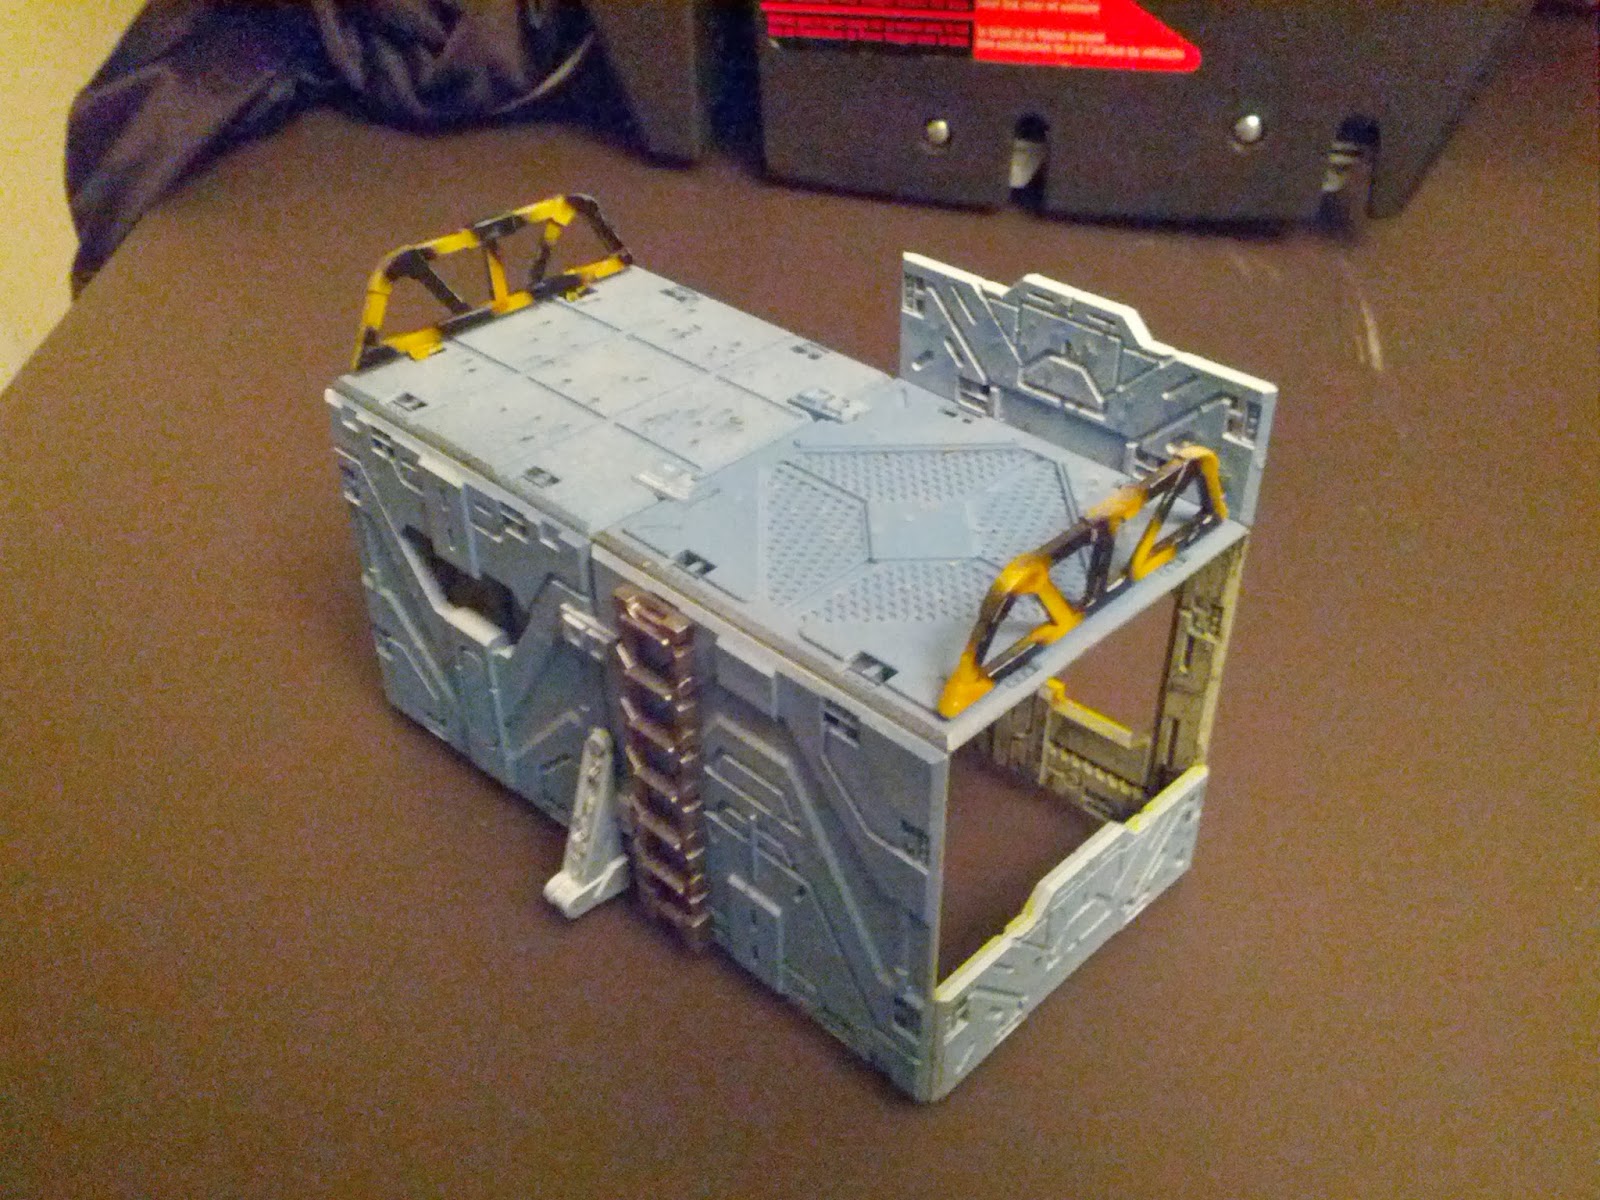 |
| rear photo from the left |
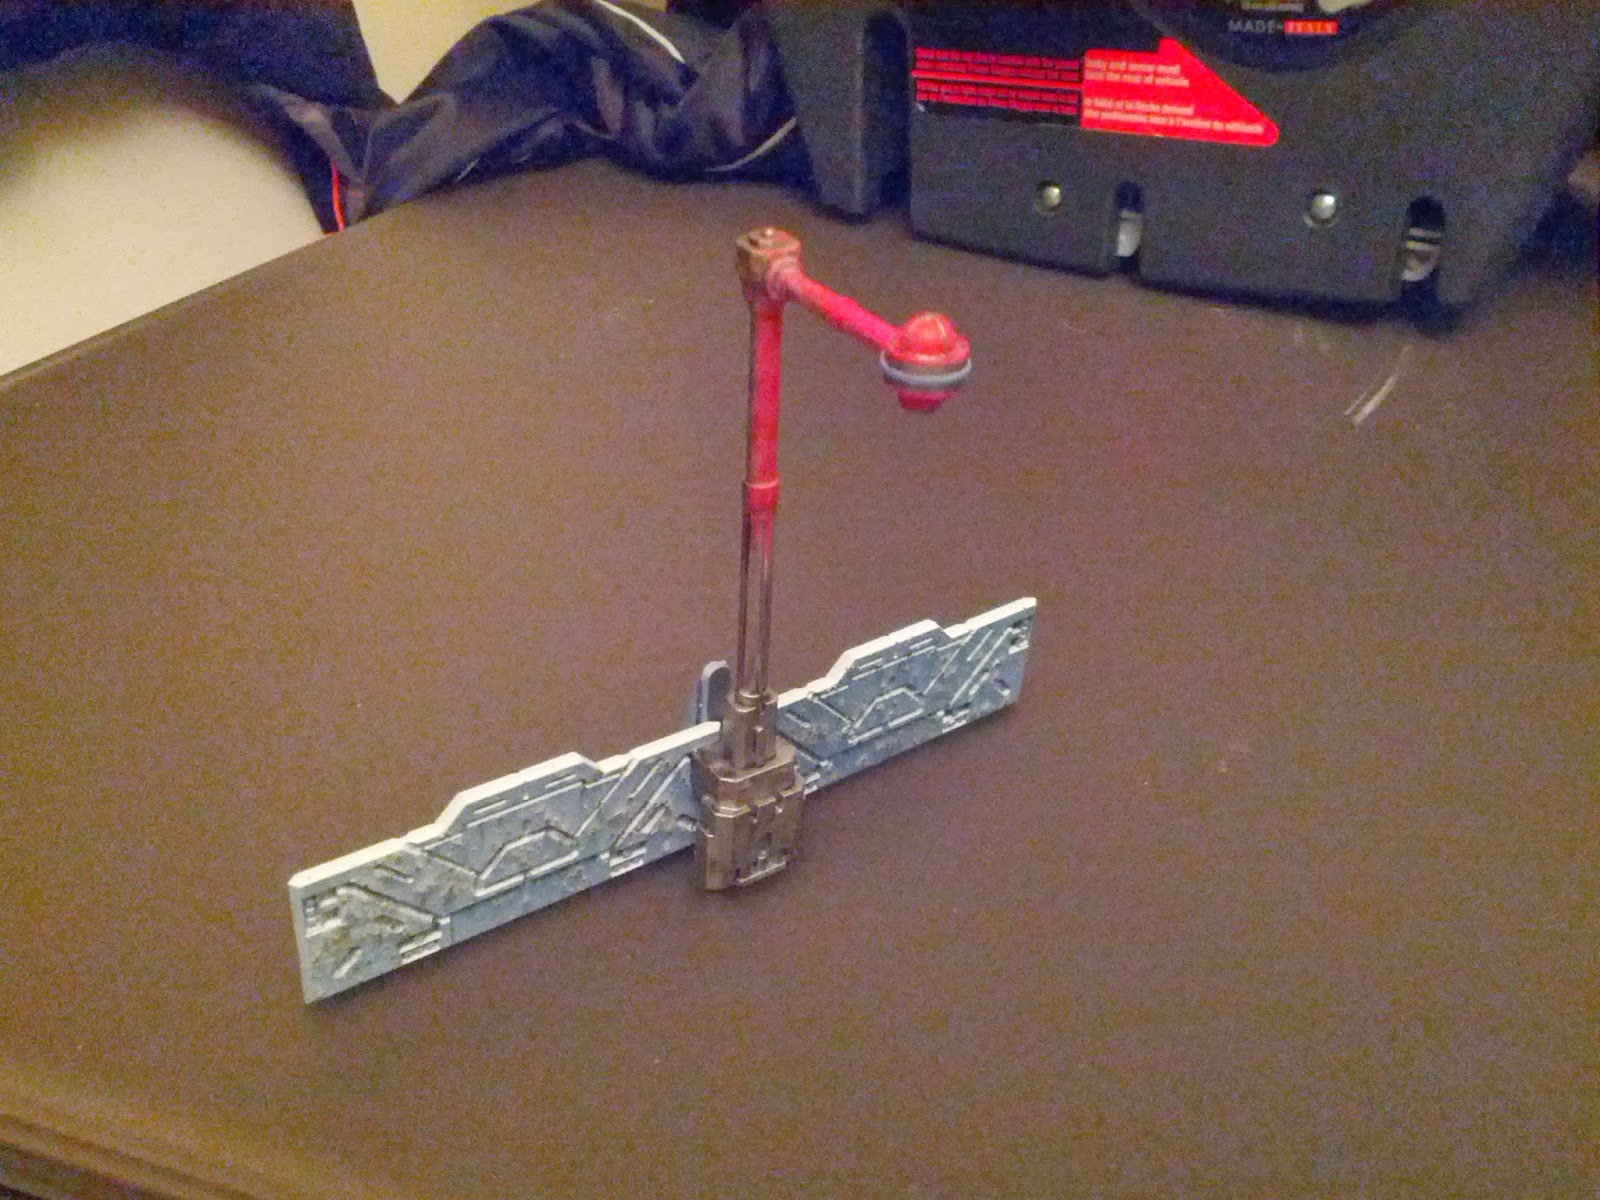
Finally here's a quick barrier I made up from two pieces and a street lamp. I decided that more yellow would not really do justice to the street lamp so I tried my hand at some red OSL. It came out OK, but I think I learned that next time, I am going to drybrush white before each successively brighter layer, because the red alone doesn't make enough difference. We'll see how that goes and compare the two later.
 |
| quick barrier with street lamp |
Also it isn't quite well balanced - the street lamp connector doesn't quite touch the floor, and the lamp itself makes that side heavier so it leans over. I am not sure what I will do about it, I may use a piece that looks like a girder to prop it up or not, still debating.
Next up for these two pieces will be weathering powders and powders + washes.
4 comments:
Nice!
Those small accessories make the terrain 'shine'.
A couple of suggestions for the 'leanin lamp' issue, either you glue a bit of plastic card/metal bit under in order to level it (still I suspect it might not be enough to make it properly balanced), or you grab a couple of accessories (trash bins, boxes, ...) and glue them to the lamp side, making it a scenario piece a little bigger, and heavier.
Also, the extra weight (and area) might help avoiding knocking the lamp down during games.
Hey... you've changed your blog's name!!
:D
Yeah,just glue a plasticard or card stock shim underneath it. Make it rectangular or square and center the lamp post on it so it looks like whatever it is attached to. If you think it needs detail, add rivets in the 4 corners.
Hey Axt, actually that's a great idea and should really help keep it stable - thanks!
Yes I didn't want to change the URL but the title is updated.
Post a Comment